As mentioned in the title, this post will cover how to use NodeJS to display the current time in the format of h:mm:ss a through an 16x2 LCD Display with a Raspberry Pi 3.
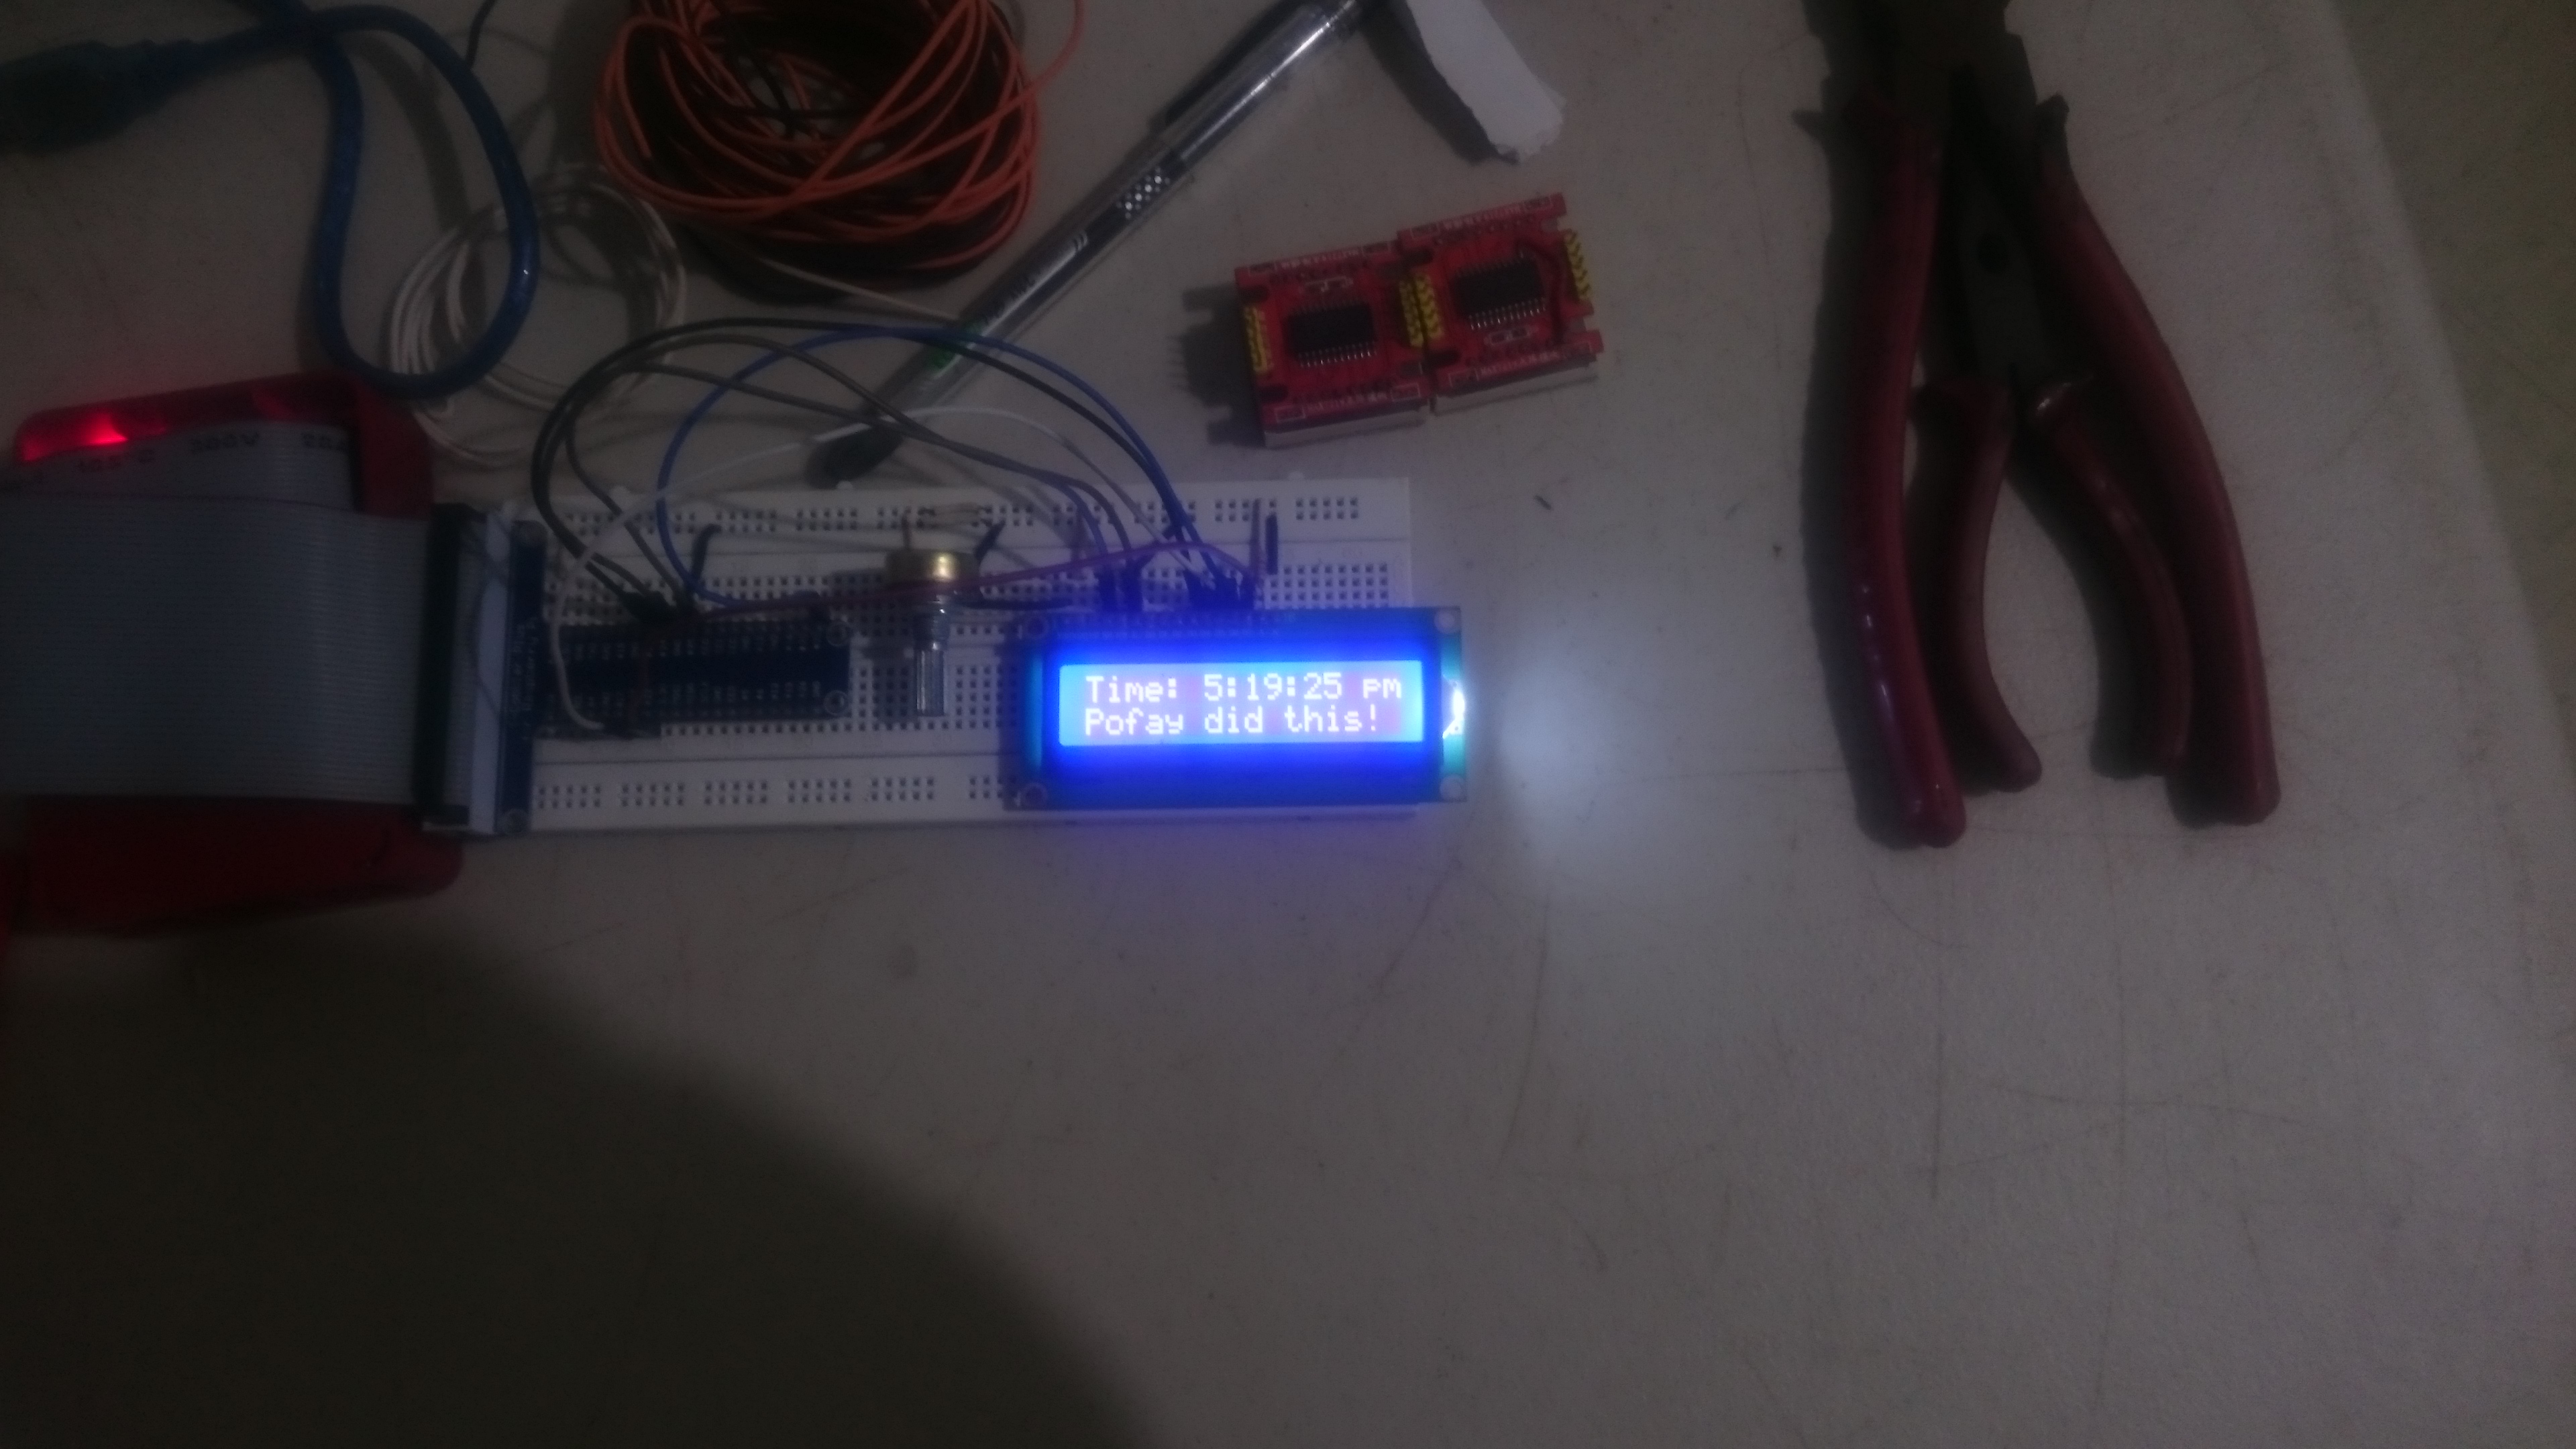
This was the result of what I made:
The Raspberry Pi Software Dependencies
Make sure you’re Raspberry Pi has NodeJS installed in it.
If not then download and install it.
The Materials
In order to follow along with this tutorial you will need the following:
Required:
- Raspberry Pi
- Assorted Jumper Wires
- 10k ohm potentiometer
- 220 ohm resistor
- Any HD44780 Compatible LCD. Mine is this
- Breadboard
Optional:
I listed the cobbler as optional because you can opt to use jumper wires instead.
The Schematic
I’ll only show the Schematic for now since I’m not really good at using Fritzing to display the Graphical Connection.
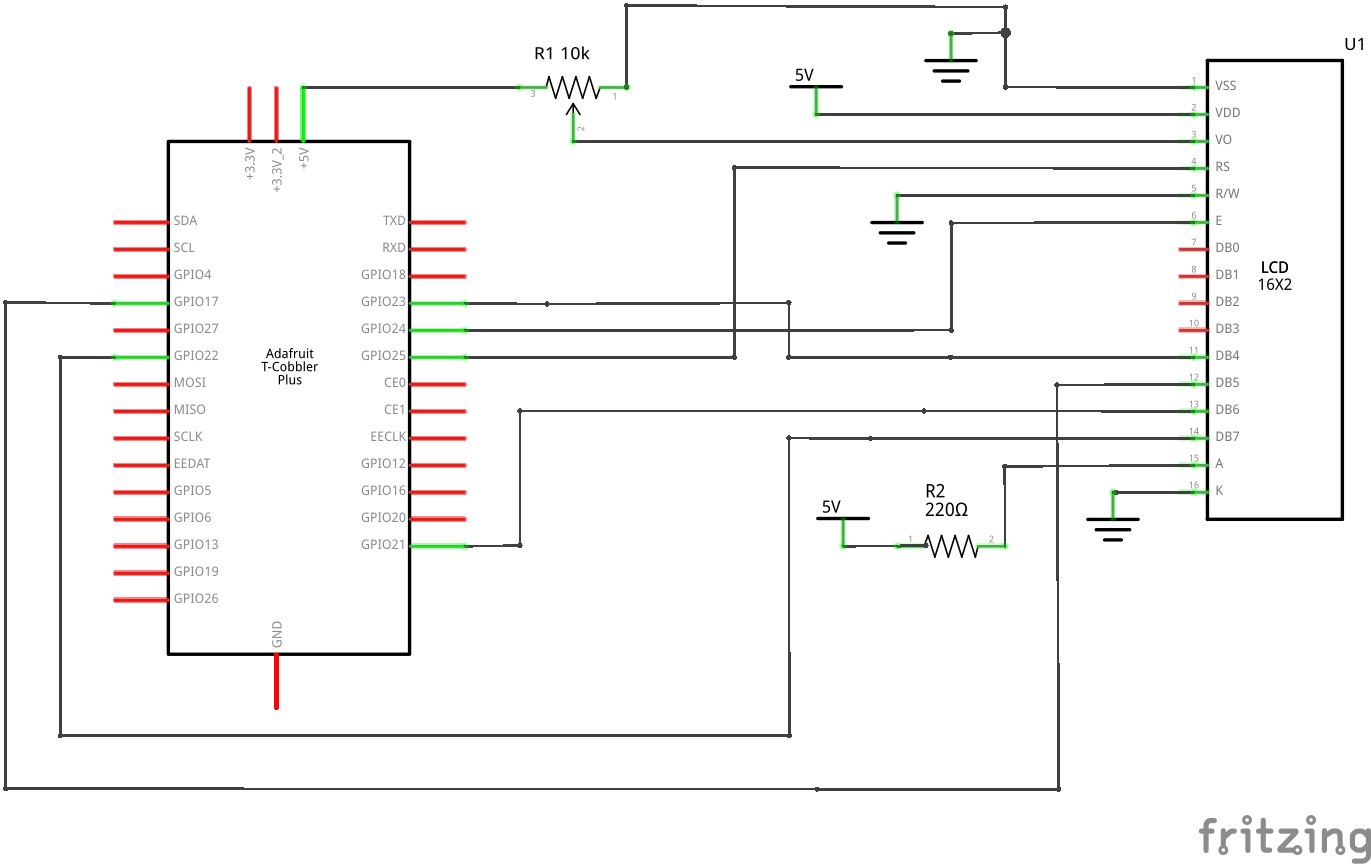
This diagram only has a minor difference from the Adafruit Schematic on the Subject. It has a 220 ohm resistor through the anode since the lcd I’ve used doesn’t have builtin resistors.
Please refer to the Adafruit Schematic for the correct schematic incase I’ve got this one wrong.
Code
Run the following commands using your terminal or command-line:
mkdir lcd-clock
cd lcd-clock
npm init
Run through the npm prompts and then install the lcd and moment package using npm:
npm install lcd moment
The lcd allows you to have a high-level API in controlling the LCD in NodeJS through the Raspberry Pi while moment is used for better date and time formatting.
Then create your lcd.js file with the following contents in it:
If you want to edit what to display in the lcd just replace the first argument in the lcd.print() method
For more information on the lcd module’s methods visit its github repo
Then run lcd.js through node:
node lcd.js
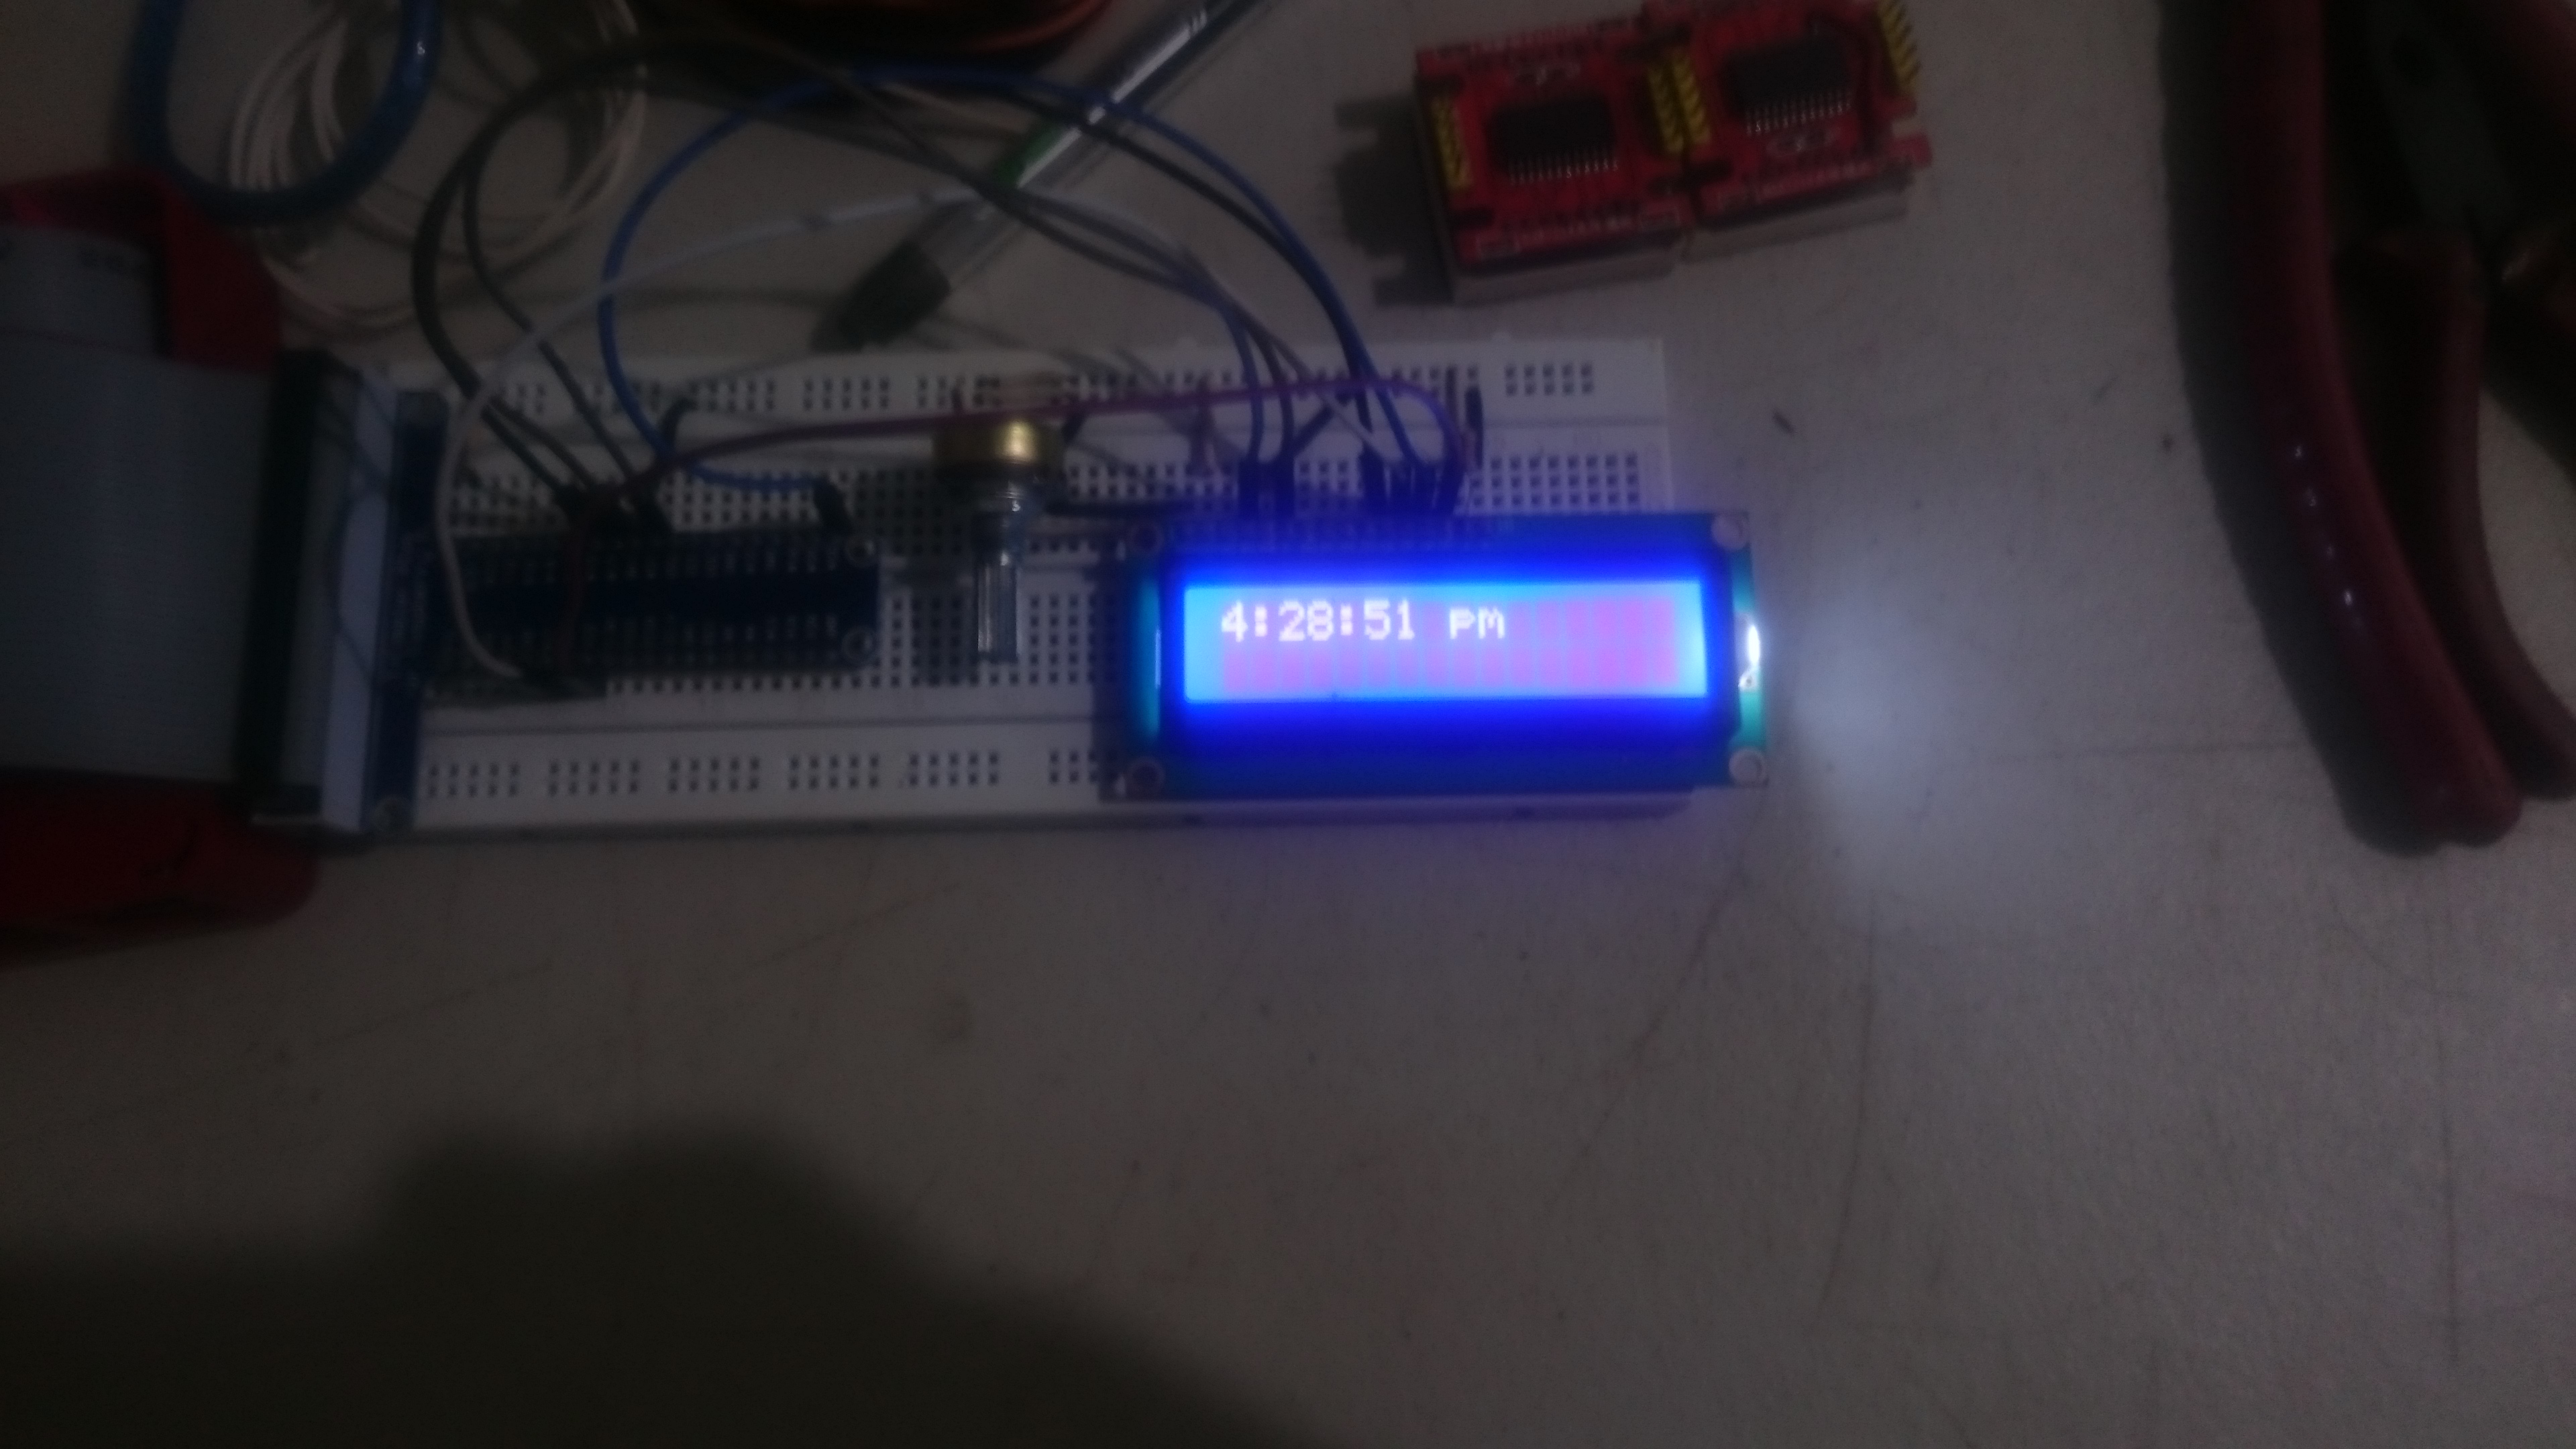
And you should see the time through the LCD:
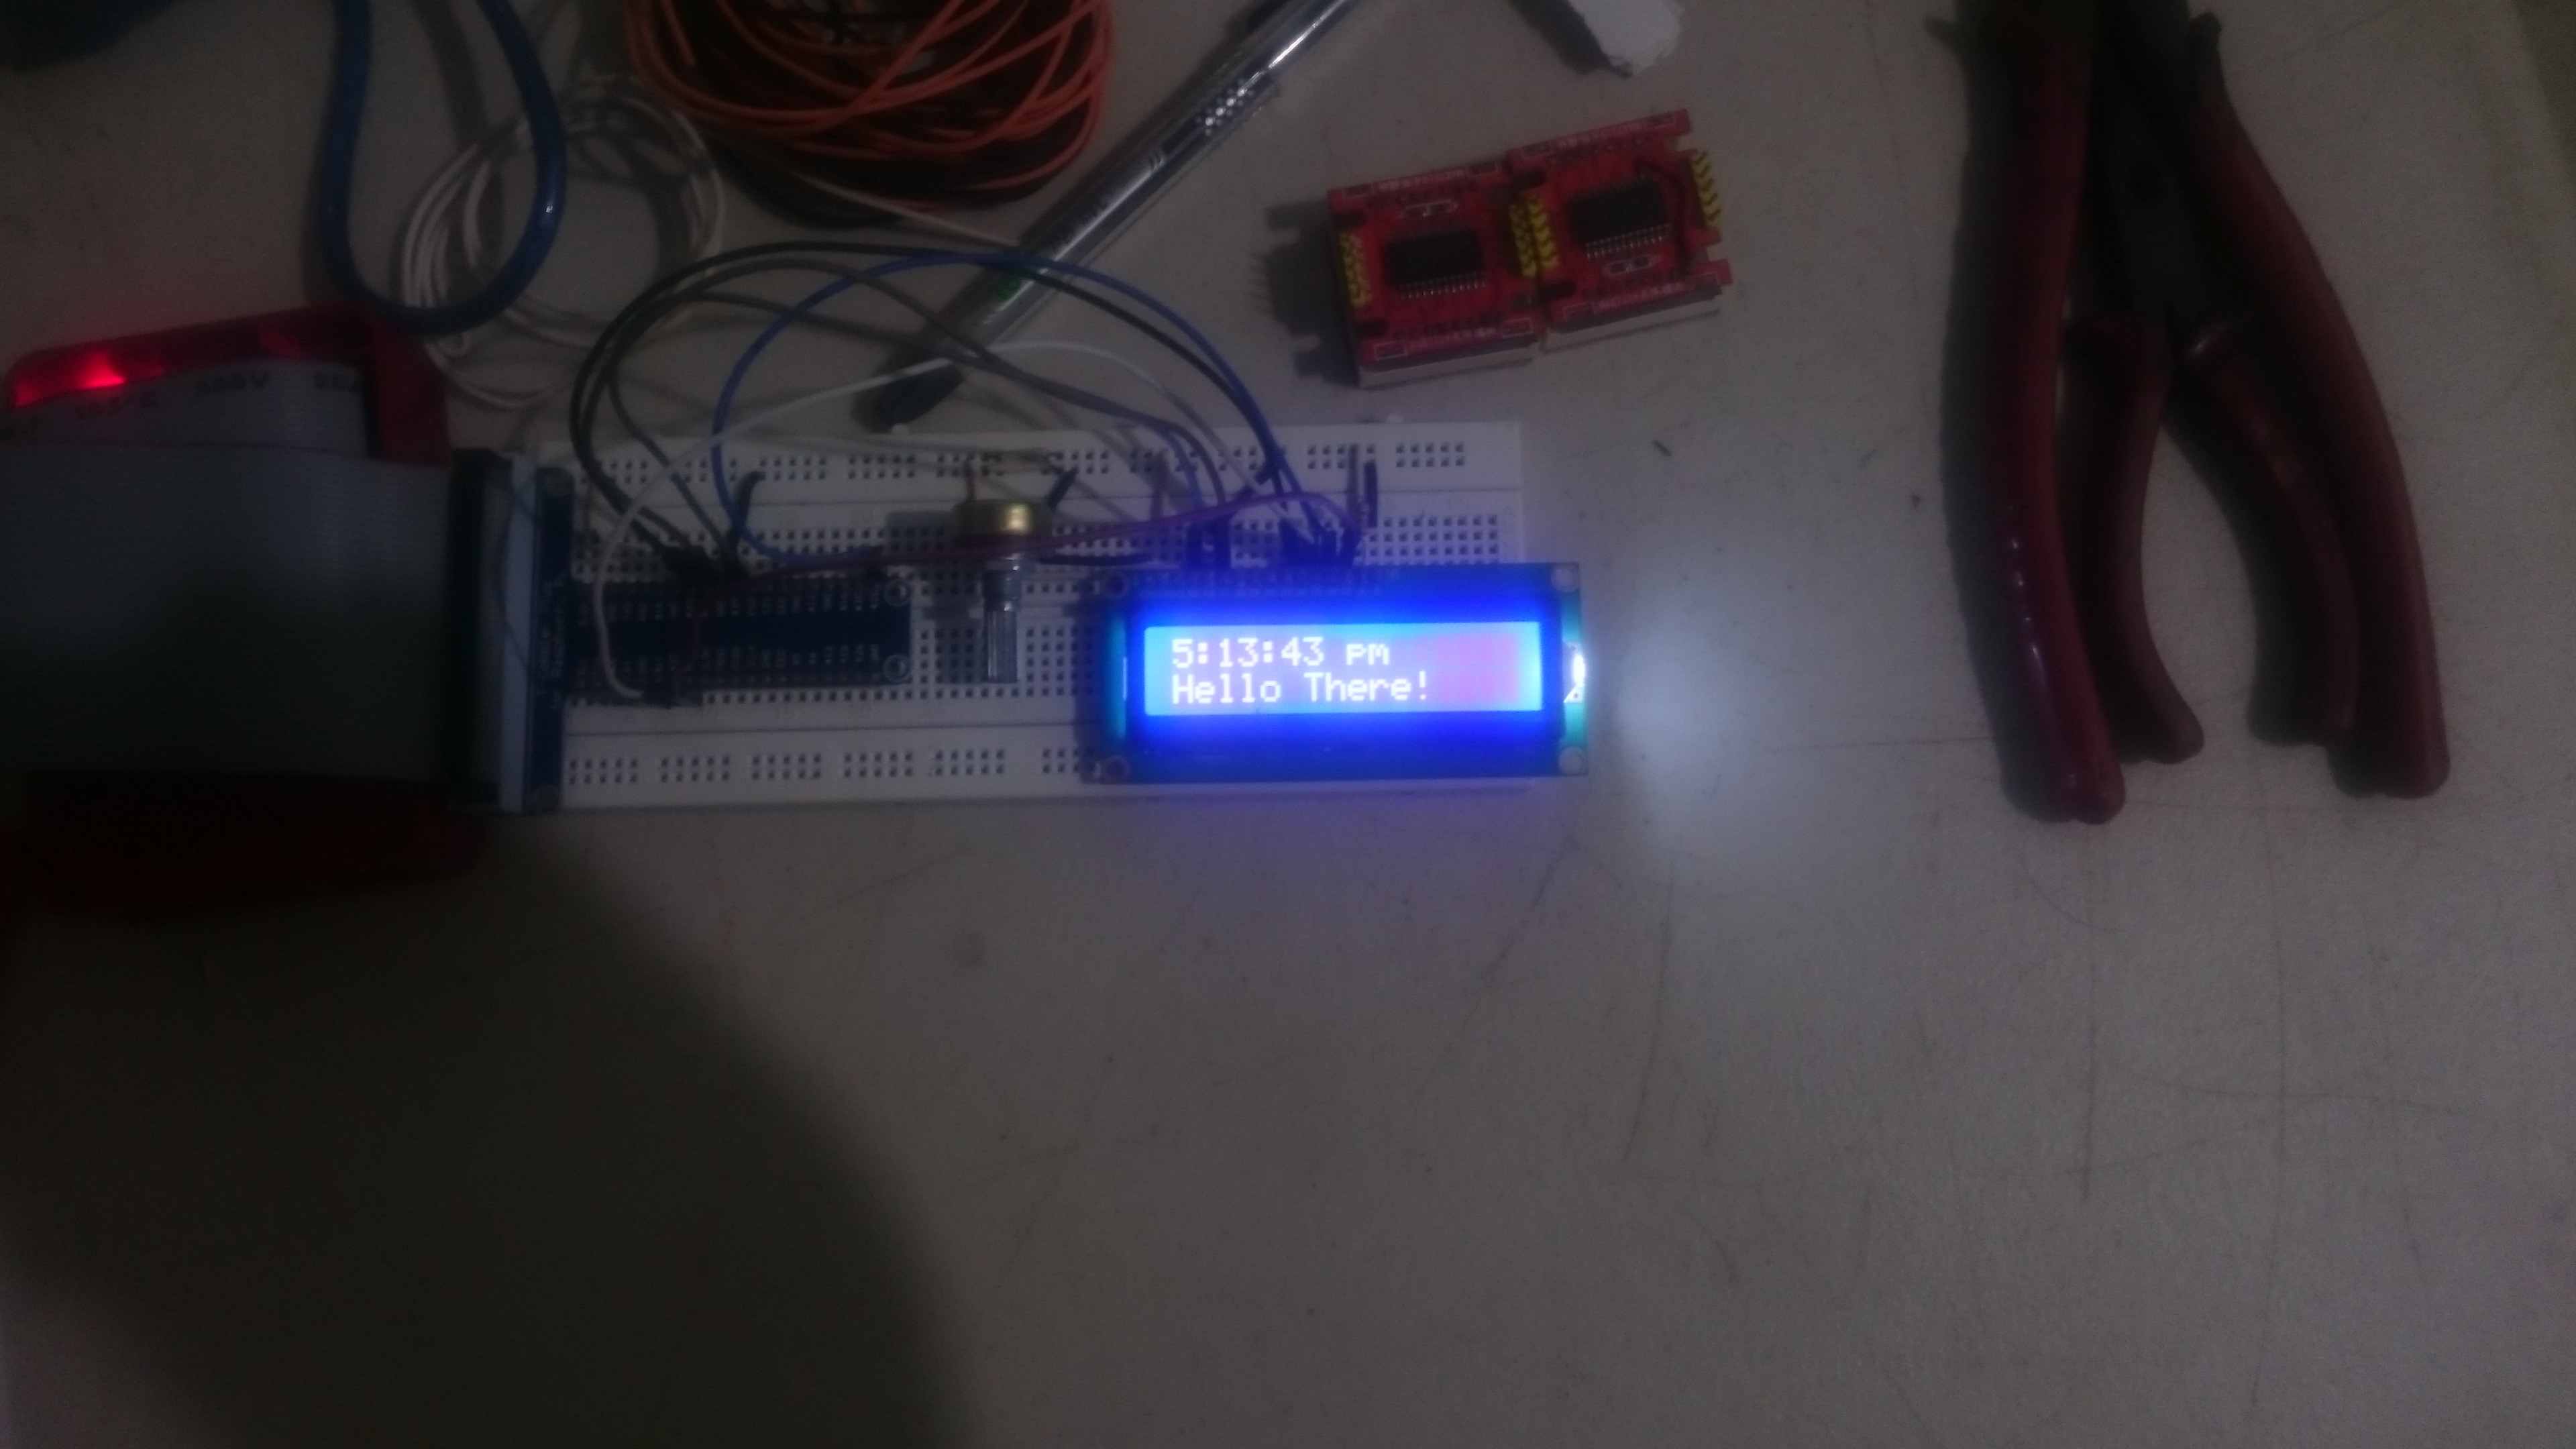
An example of Displaying an extra line to the LCD:
The Api of the lcd package does not do an automatic newline unlike the Adafruit Python Library. If you miss out on putting the next
setCursorand
And the Output:
There are still alot more things you can do with this. You can replace the displayed text or make it scroll along the lcd.
I hope you have learned something today and happy tinkering.
Comments